This is the heated build stage from MakerBot, v1.0.

It is a 10 Ohm length of 31 g nichrome embedded in crystal clear silicone with accompanying thermistor to check the temperature and provide feedback. It has an integrated connector for plugging directly into your extruder board. We are keeping the silicone clear for now so you can see what's going on.
Read on to learn how to use it, or see origins and other designs here. Also see this blog post for more info.
Using MakerBot Hotness
Software Setup
1) Download ReplicatorG. v0013 or later is required:
ReplicatorG v0013
2) Using ReplicatorG 0013 (see, I told you you would need it!): Install "v1.8 with heated platform support" Extruder Firmware onto your extruder board. Note that you will need to connect the USB cable directly to the extruder board for this to work. The Motherboard may also need to be updated to v1.6 or later (we have not tried earlier versions).

Hardware Setup
Silicone heater with thermistor, wires and connector
two 4" glass plates
two large binder clips
3) Check your connections. Start by visually inspecting the thermistor connector. There are two wires, a resistor, and a capacitor. No two solder joints should touch! If you have a loose connection or a joined solder joint you will need to fix it with your soldering iron. If you're having problems, Zaggo's got the skinny: http://pleasantsoftware.com/developer/3d/2009/11/23/how-to-connect-the-2nd-thermistor/
This is the same design as from RRRF Temperature Sensor: http://reprap.org/bin/view/Main/Temperature_Sensor_1_1
4) You will have two red wires coming from the nichrome. Check the resistance. It should be about 10 Ohms. Sometimes these wires are a bit short so you may need to make your own extension cords — just keep that soldering iron hot and grab your favorite wire (24 g or higher, please). Either solid core or stranded wire is fine.
5) Plug in the thermistor connector to Port A6 and screw in the red wires to Terminal 'A' Screw Terminals on the Extruder Controller.

6) Fire up ReplicatorG and connect to your machine Serial Port (choose the USB TTY port). Set the Machine Driver menu to CupCake CNC w/ heated build platform.

Ready, Set, Hot
7) Open up the ReplicatorG control panel (shortcut: control-J). You should see a reading for heated build platform that is room temperature. If so— success! You can now set the temperature as you normally would for the plastruder. Enter 65 for the value (65 degrees celsius works well for ABS and PLA), then press the tab key to move the cursor out of that text field and get the software to notice you have made a change. You should see the LED next to the Screw Terminal 'A' mosfet come on. After a few minutes you should see the reading temperature start to increase.


8) Now you're cooking. You probably want to put a piece of aluminum foil on top of the silicone to allow the heat to conduct more evenly across the silicone surface. While it starts to heat up to 65 degrees, you can mount the heated stage in your CupCake CNC. Use the wooden build platform that came with your CupCake CNC. Place one glass plate on it, then the silicone build surface with aluminum foil on top, then the next piece of glass. If you're using PLA, stop with glass as the top layer. If you're using ABS, put the acrylic build surface on top of this second glass layer. You always need the second glass layer even if you want acrylic on top because otherwise the acrylic will bow-up in the middle due to heating in the center while clamping at the sides. The second glass layer keeps the acrylic very flat even when heated.
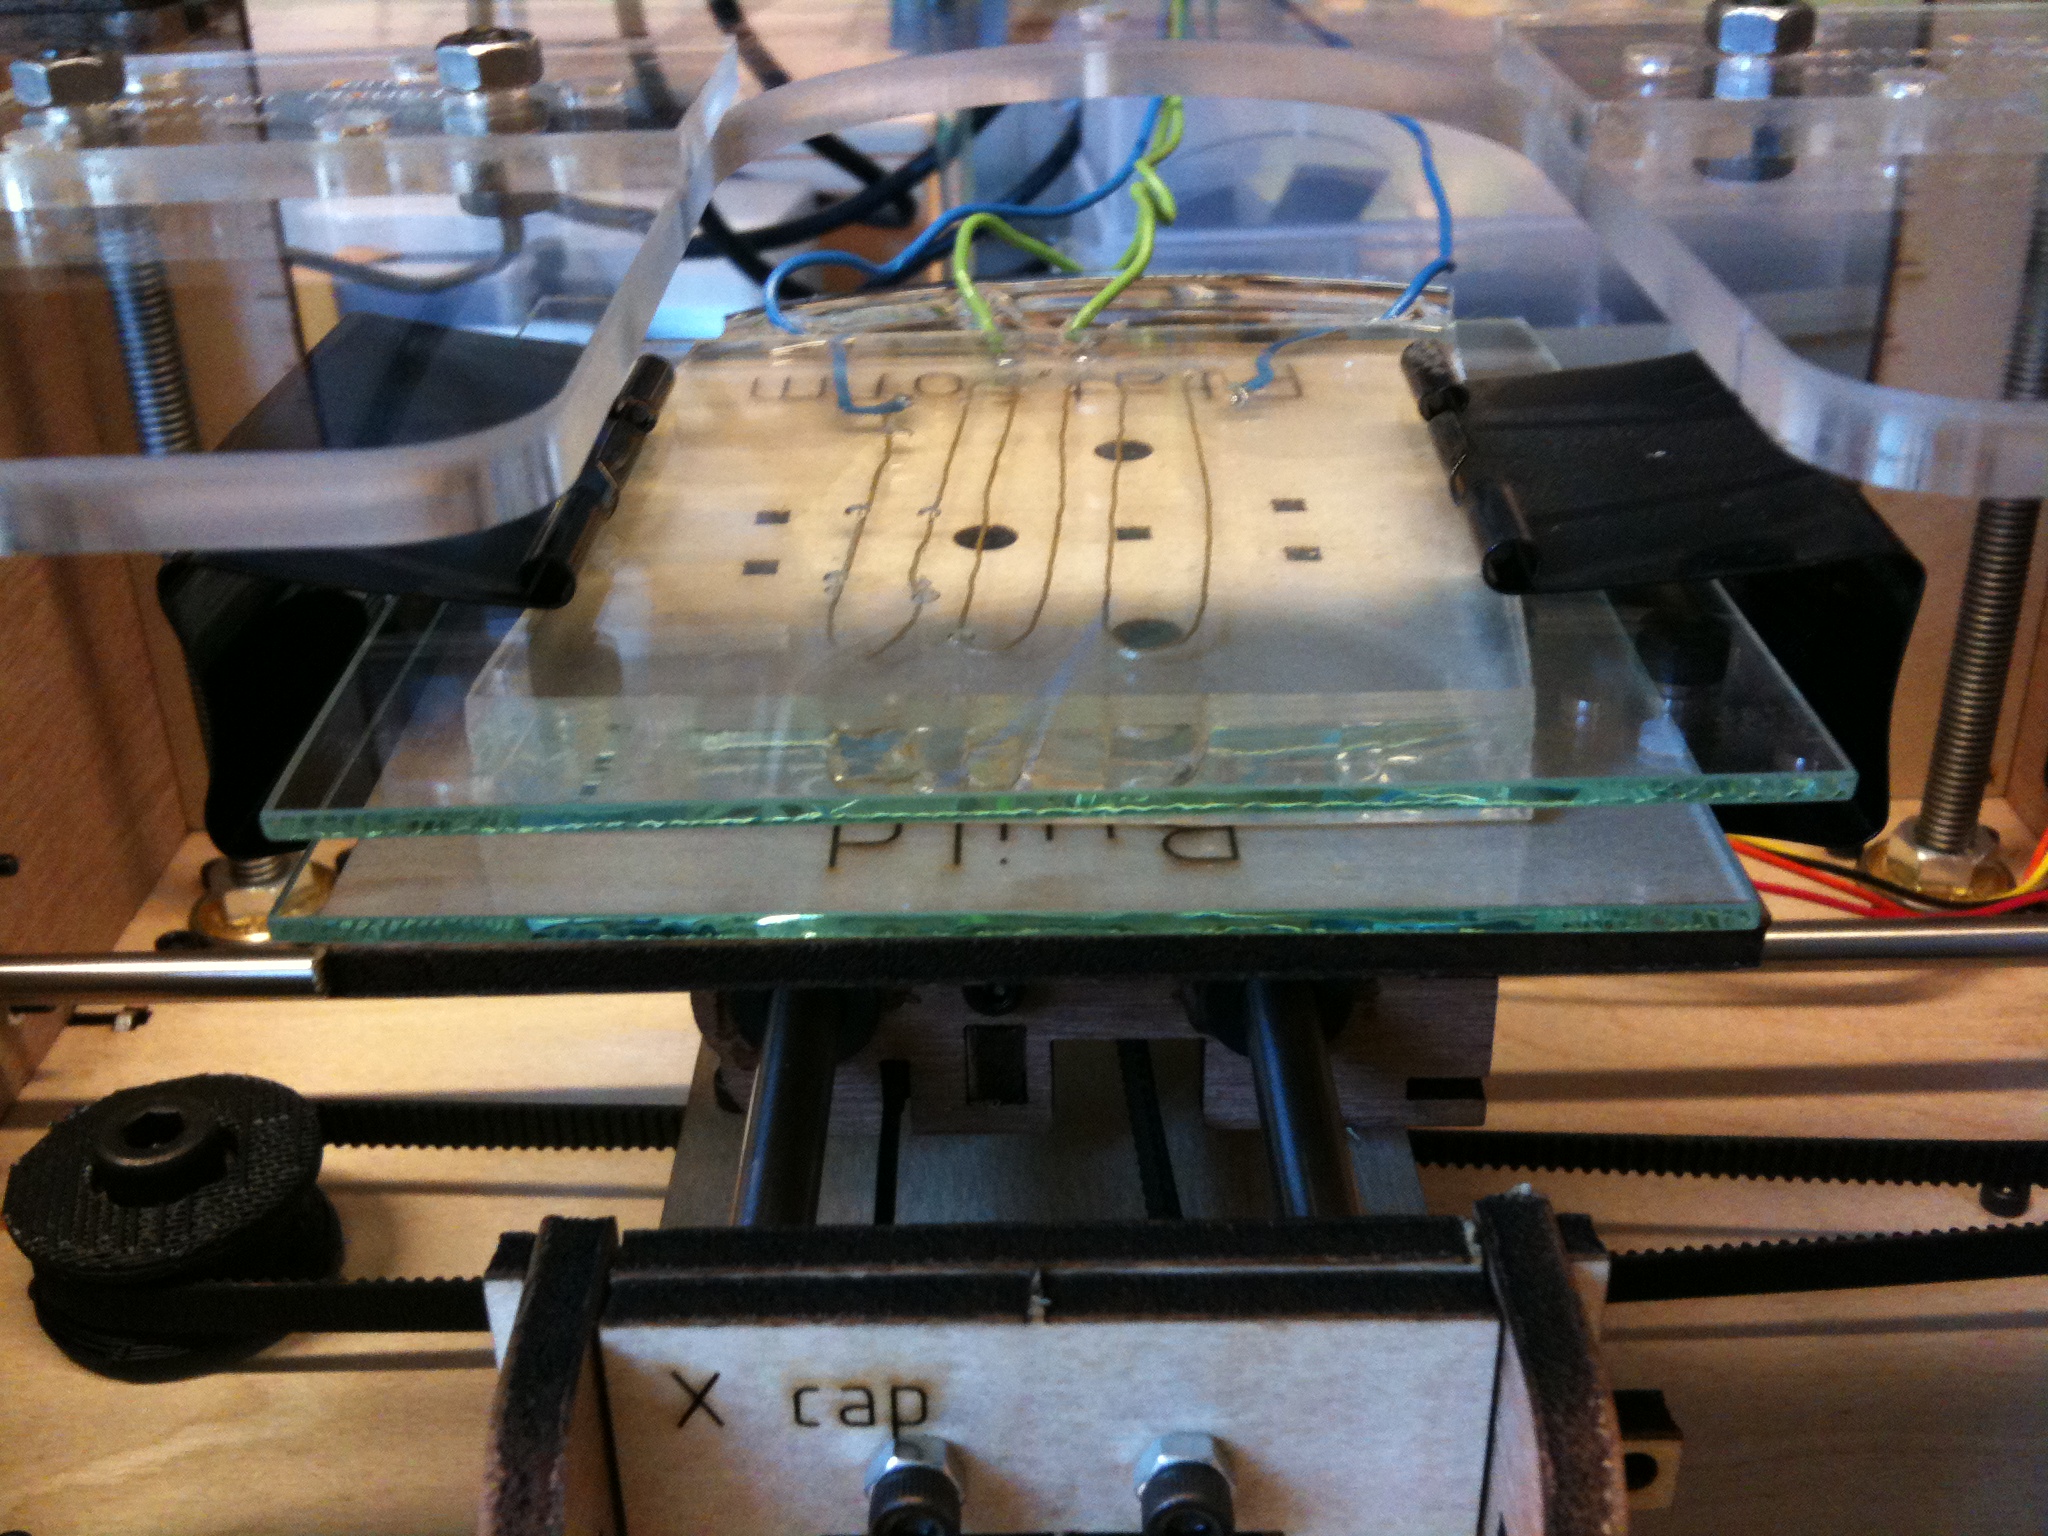
9) Use the large binder clips to CAREFULLY clamp down the left and right sides of the heated build platform. Once everything is clamped down, you can CAREFULLY remove the metal springs from the large binder clips to allow the machine more travel room. Here's approximately what it should look like:
10) PRINT! When your print is done, CAREFULLY reattach the metal springs to the large binder clips and CAREFULLY open the clips. The glass will be HOT. If you just printed PLA, let the part fully cool before trying to remove from glass. We found that while warm glass can adhere PLA, cold glass is completely non-adhesive for PLA so your part will just pop right off! For ABS if your part is sticking too well to the etched acrylic surface you may want to try using the flat, unetched side of the acrylic, a lower heated build platform temperature, or both!
Ouch My Fingers!
Warning: heated build surfaces are… HOT! No problem, just grab a 4" putty knife to "handle" the build surface:
Examples of Raft-Free Printing with MakerBot Hotness
PLA Printruder
